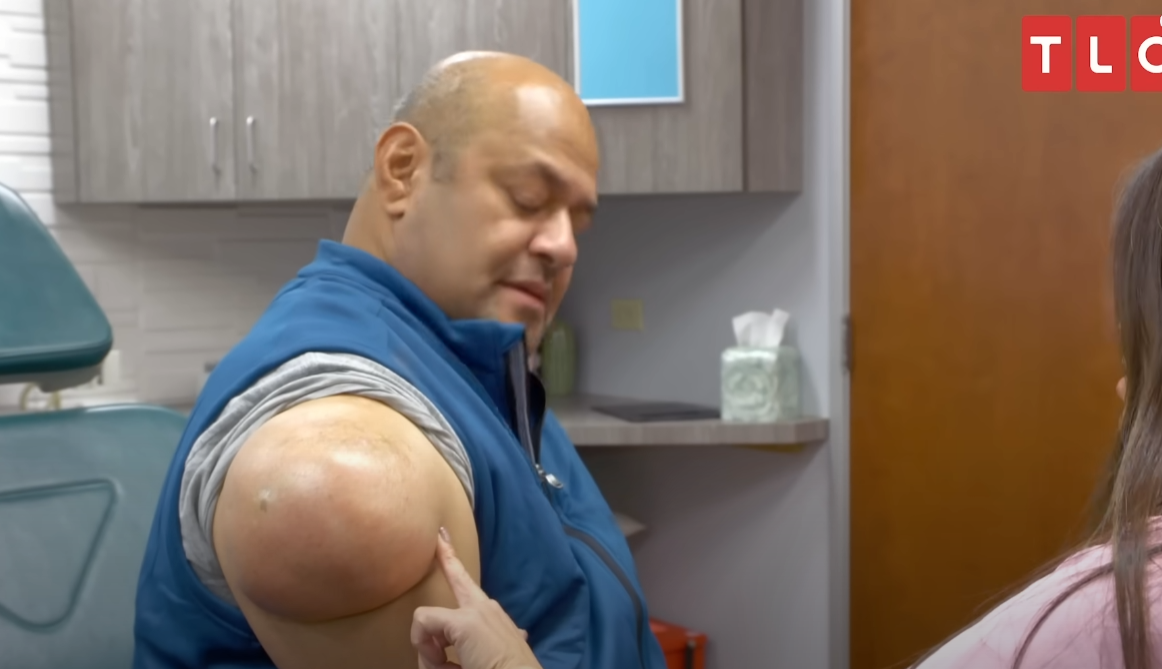
Infra-Mammary abscess. Large pocket of fluid drained with incision & drainage.
Please scroll down to watch the video.👇👇
An infra-mammary abscess is a collection of pus located beneath the breast, often due to infection in the breast tissue or skin. When it presents as a large pocket of fluid , it typically requires incision and drainage (I&D) for effective treatment.
Here’s an overview of how to manage an infra-mammary abscess with incision and drainage:
🔍 1. Clinical Evaluation
- History & Physical Exam : Assess for signs of infection: redness, warmth, tenderness, fluctuance, fever.
- Imaging (if needed): Ultrasound can confirm the presence of a fluid-filled abscess and differentiate it from cellulitis or a breast cyst.
🧼 2. Preparation for I&D
- Informed Consent : Explain the procedure, risks, and expected outcomes.
- Sterile Setup : Use sterile gloves, drapes, instruments, and local anesthetic (e.g., lidocaine with epinephrine).
- Antibiotics : Consider empiric antibiotics if there are systemic signs (fever, lymphadenopathy), especially if MRSA is suspected.
✂️ 3. Incision and Drainage Procedure
Steps:
- Mark the Area : Identify the point of maximum fluctuance.
- Anesthetize : Inject local anesthetic around the planned incision site.
- Incision : Make a small (1–2 cm) horizontal incision along the infra-mammary fold to minimize cosmetic impact.
- Drain the Pus : Use a hemostat to open the cavity and allow full drainage.
- Culture : Obtain a sample of the pus for microbiology analysis (important for guiding antibiotic therapy).
- Irrigation : Flush the cavity with sterile saline to remove debris.
- Packing (if needed): Insert a small piece of iodoform or plain gauze packing to keep the wound open and allow continued drainage.
- Dressing : Apply a sterile dressing and consider a loose compression dressing to reduce dead space.
🩺 4. Post-Procedure Care
- Wound Care Instructions : Patient should return daily for packing changes or perform at-home packing changes.
- Antibiotics : Depending on severity and culture results, prescribe oral or IV antibiotics (common regimens cover MRSA – e.g., clindamycin, trimethoprim-sulfamethoxazole, or doxycycline).
- Follow-Up : Reassess within 24–48 hours to ensure resolution of infection and proper healing.
- Remove Packing Gradually : As drainage decreases, packing is reduced or removed entirely.
⚠️ Complications to Watch For
- Recurrent abscess
- Fistula formation
- Delayed healing
- Spread of infection (cellulitis, sepsis)
- Breast asymmetry or scarring
📝 Notes:
- In lactating women , consider lactational mastitis or breast abscess; ultrasound-guided aspiration may be preferred, or I&D if large.
- In non-lactating women , think about underlying causes such as duct ectasia, smoking, or immunocompromised status.
Certainly! Here’s a more detailed and structured clinical approach to the diagnosis and management of an infra-mammary abscess , including step-by-step procedural details, indications, contraindications, equipment needed, and evidence-based references .
🩺 Clinical Management of Infra-Mammary Abscess with Incision and Drainage (I&D)
🔍 1. Definition
An infra-mammary abscess is a localized collection of pus beneath the breast in the infra-mammary fold area. It may arise from skin infections (e.g., folliculitis, hidradenitis suppurativa), mastitis, or secondary infection of a cyst or hematoma.
🧾 2. Indications for Incision and Drainage
- Confirmed abscess on physical exam or imaging (ultrasound preferred)
- Presence of fluctuance, erythema, warmth, and tenderness
- Failure of antibiotic therapy alone
- Large fluid pocket not amenable to needle aspiration
⚠️ 3. Contraindications
- Coagulopathy (correct prior to procedure if possible)
- Severe cellulitis without defined abscess
- Inability to cooperate (consider sedation/anesthesia if necessary)
- Pregnancy (modify antibiotics accordingly)
🧰 4. Equipment Needed
🧬 5. Pre-Procedural Considerations
A. Imaging
- Ultrasound : First-line imaging modality; differentiates solid mass vs. fluid-filled abscess.
- Mammogram/MRI : Reserved for recurrent or complex cases, especially in non-lactating women.
B. Laboratory Workup
- CBC, CRP, blood cultures (if febrile/septic)
- Pus culture and sensitivity from incision site
C. Antibiotics
- Start empiric antibiotics covering Staphylococcus aureus (including MRSA) and streptococci:
- Oral: Clindamycin 300–450 mg PO TID or TMP-SMX DS BID
- IV: Clindamycin 600–900 mg IV Q8H or Vancomycin if MRSA suspected
✂️ 6. Step-by-Step Procedure for I&D
1. Patient Positioning
- Supine position with arm abducted on the affected side.
- Expose the infra-mammary fold fully.
2. Marking the Site
- Identify the point of maximum fluctuance or guided by ultrasound.
- Mark the incision site along the natural skin crease (to minimize scarring).
3. Local Anesthesia
- Infiltrate lidocaine with epinephrine around the planned incision site using a 25-gauge needle.
- Allow 3–5 minutes for onset.
4. Incision
- Use a #11 or #15 scalpel blade to make a horizontal incision (~1–2 cm).
- Avoid deep cuts—enter just through the dermis and subcutaneous fat into the abscess cavity.
5. Drainage
- Insert a hemostat or Kelly clamp into the incision and gently open to allow full drainage.
- Collect purulent material for Gram stain and culture.
6. Debridement & Irrigation
- Gently break up loculations with the tip of the hemostat.
- Irrigate with sterile normal saline using a syringe with angiocath tip.
7. Packing
- Insert iodoform gauze or ribbon packing loosely into the wound cavity.
- Do not overpack—this can impair drainage and increase pain.
8. Dressing
- Apply a non-adherent dressing and secure with tape or wrap.
- Consider light compression to reduce dead space.
🩹 7. Post-Procedure Management
A. Wound Care
- Return within 24–48 hours for packing change.
- Teach patient or caregiver how to remove and replace packing daily at home.
- Gradually decrease packing as drainage reduces.
B. Antibiotic Therapy
- Tailor based on culture results.
- Continue until signs of infection resolve (typically 7–14 days).
C. Follow-Up
- Monitor for:
- Decreased redness, swelling, and pain
- Reduced drainage
- No fever or systemic symptoms
- Remove packing once cavity closes or becomes shallow.